C2. Employees🔗
In brief🔗
The Employees screen manages the staff accounts: create, modify, deactivate, and define the role and the login methods (PIN, NFC badge, fingerprint) of each one.
Who / when🔗
For the Admin (or an authorized Manager), when hiring/letting go of an employee or to modify their access.
How to access🔗
Admin → Employees.
Requirements🔗
🔑 Manage employees
Screen tour🔗
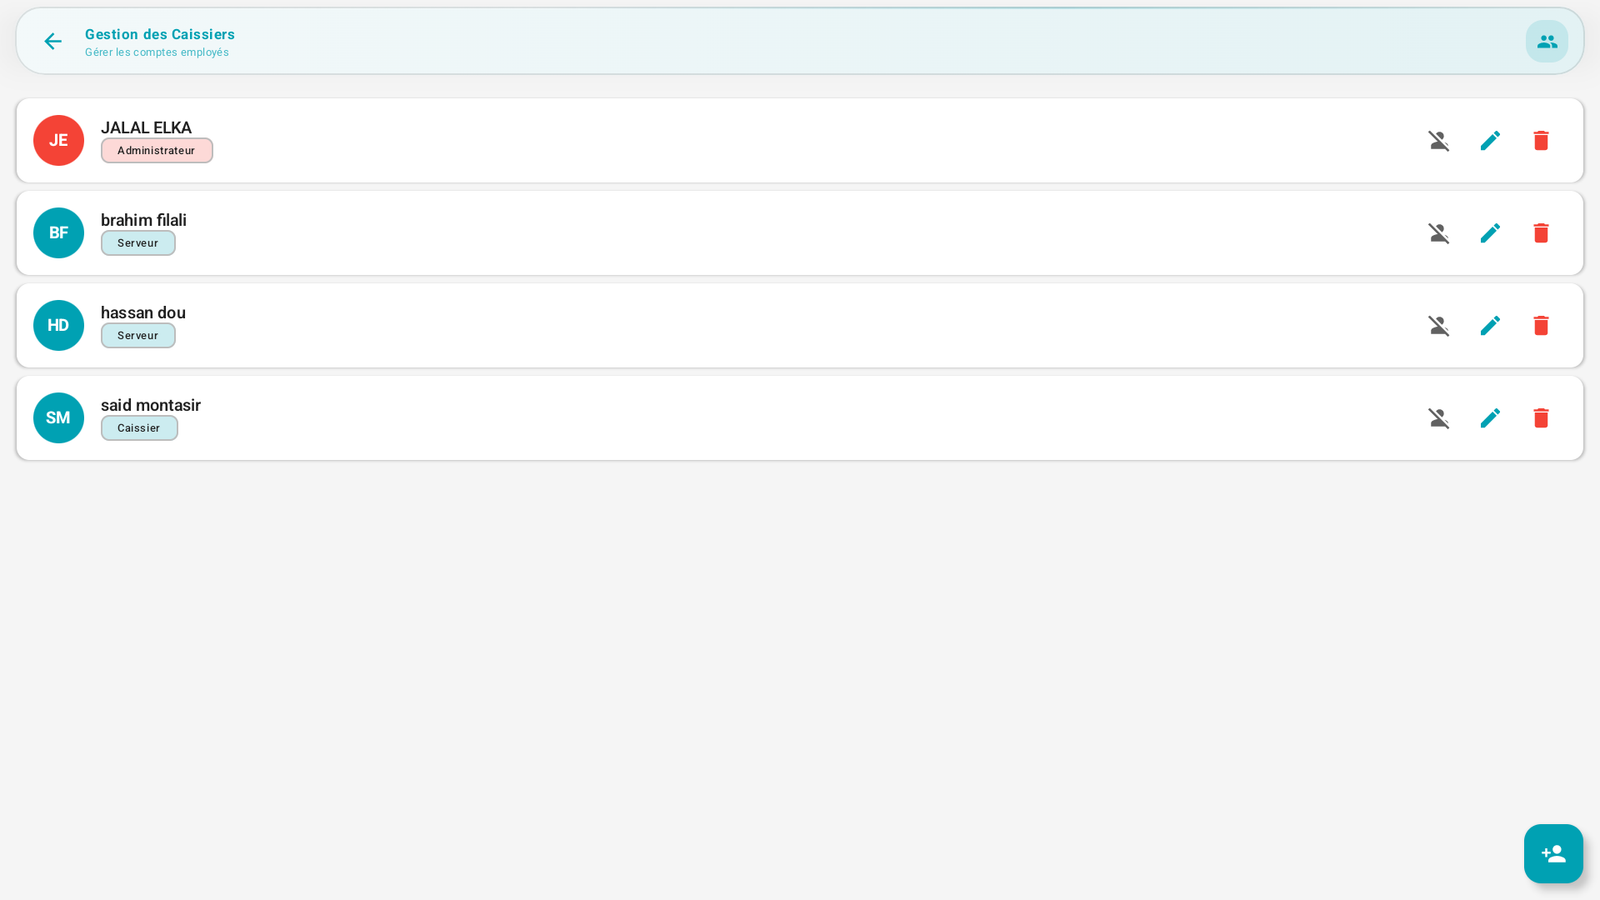
The list displays each employee with: a colored dot (their initials), their name, a role badge (Administrator, Manager, Cashier, Kitchen, Server), and three actions:
- Activate/deactivate (crossed-out person icon),
- Modify (pencil),
- Delete (trash).
The + button (at the bottom right) adds an employee.
Step-by-step🔗
Add an employee🔗
- Tap +.
- Fill in the first name and last name.
- Set a PIN code (max 6 digits) — mandatory for a new account.
- Choose the role (Admin, Manager, Cashier, Kitchen, Server).
- (Optional) Authentication methods:
- NFC badge: enable and scan the badge (Scan NFC button), or open the NFC settings if the reader is disabled.
- Fingerprint: enable the biometric enrollment.
- Save.
Modify / reset a PIN🔗
- Tap the pencil on the employee's line.
- Change the role, the PIN or the authentication methods.
- Save.
Deactivate without deleting🔗
- Use the activate/deactivate icon: the employee can no longer log in but their history remains (recommended over deletion).
Messages & edge cases🔗
- The role determines the rights (see Profiles & roles and Permissions & roles). An Admin has all the rights; a Manager almost all.
- The NFC badge requires the NFC reader to be enabled (see Configure the peripherals).
Tips🔗
- Give each person the minimum role necessary (principle of least privilege).
- Prefer deactivating rather than deleting: you keep the traceability of past sales.