A8. Configure the peripherals🔗
In brief🔗
Once the menu and the POS screen are ready, the hardware still needs to be connected: receipt printer(s), kitchen printer(s), cash drawer, and the other peripherals. This is where you declare each device and check that it responds.
Who / when🔗
For the Admin (or an authorized employee), at installation and at each addition/replacement of hardware.
How to access🔗
Admin → Peripherals.
Requirements🔗
🔑 Manage printers / Manage settings
Screen tour🔗
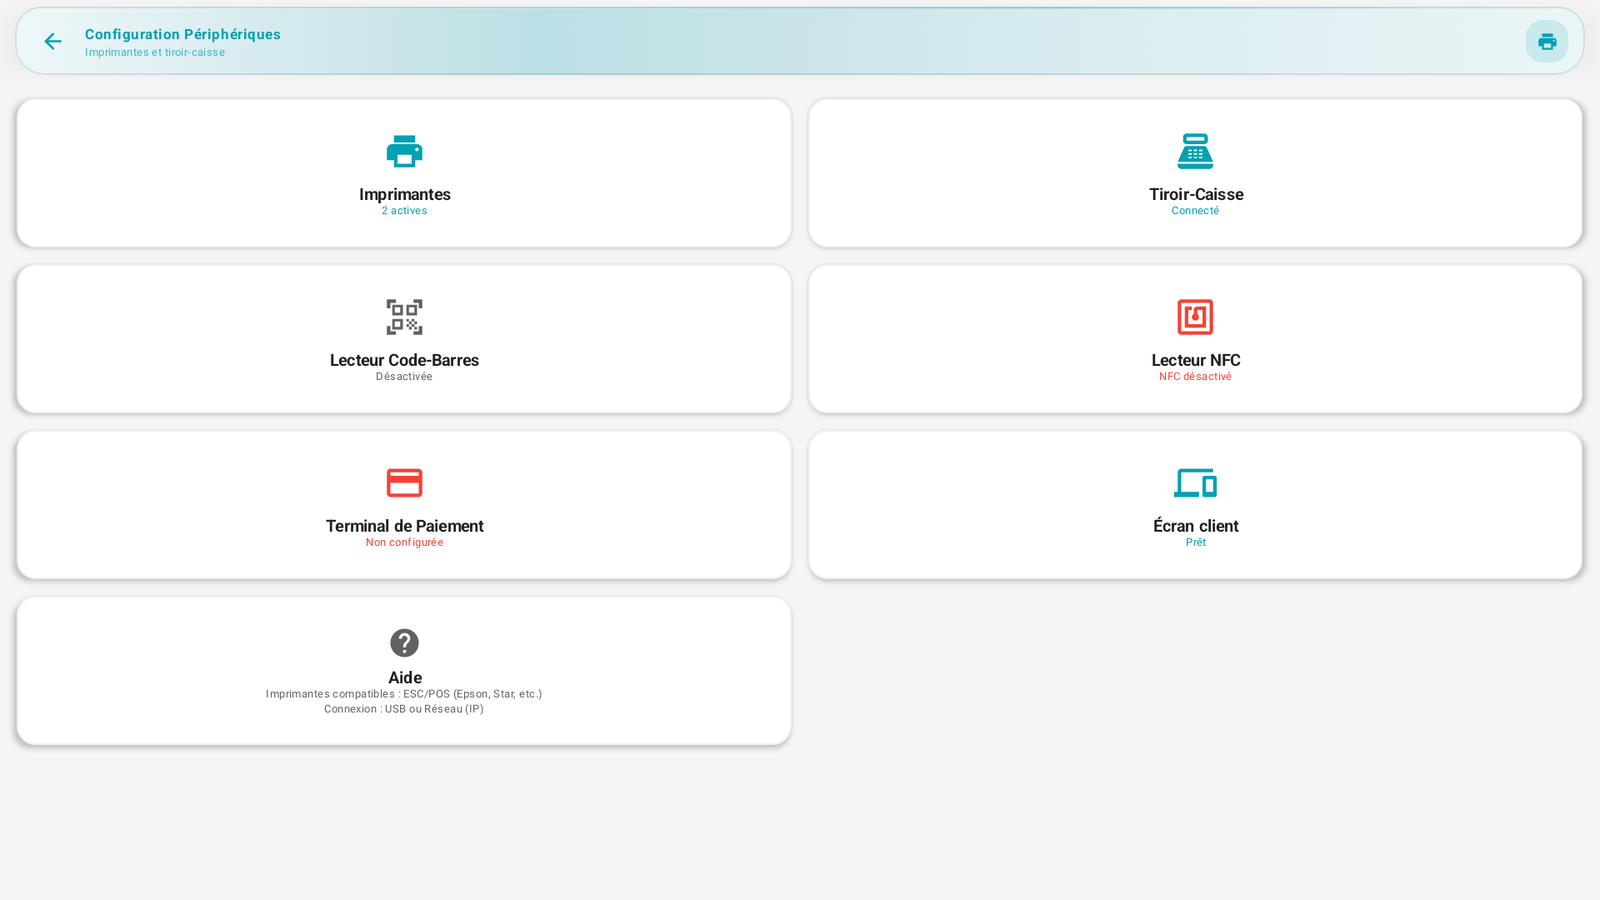
The screen presents a card per peripheral type, with its live status:
| Card | Role | Status displayed (example) |
|---|---|---|
| Printers | Customer receipts and kitchen orders | "2 active" |
| Cash drawer | Opens during a cash payment | "Connected" |
| Barcode scanner | Scan products | "Disabled" |
| NFC reader | Employee badges | "NFC disabled" |
| Payment terminal | Card payments | "Not configured" |
| Customer display | Display facing the customer | "Ready" |
A Help card recalls compatibility: ESC/POS printers (Epson, Star, etc.), USB or Network (IP) connection.
The printers in detail🔗
Tap the Printers card to open the Configured printers list.
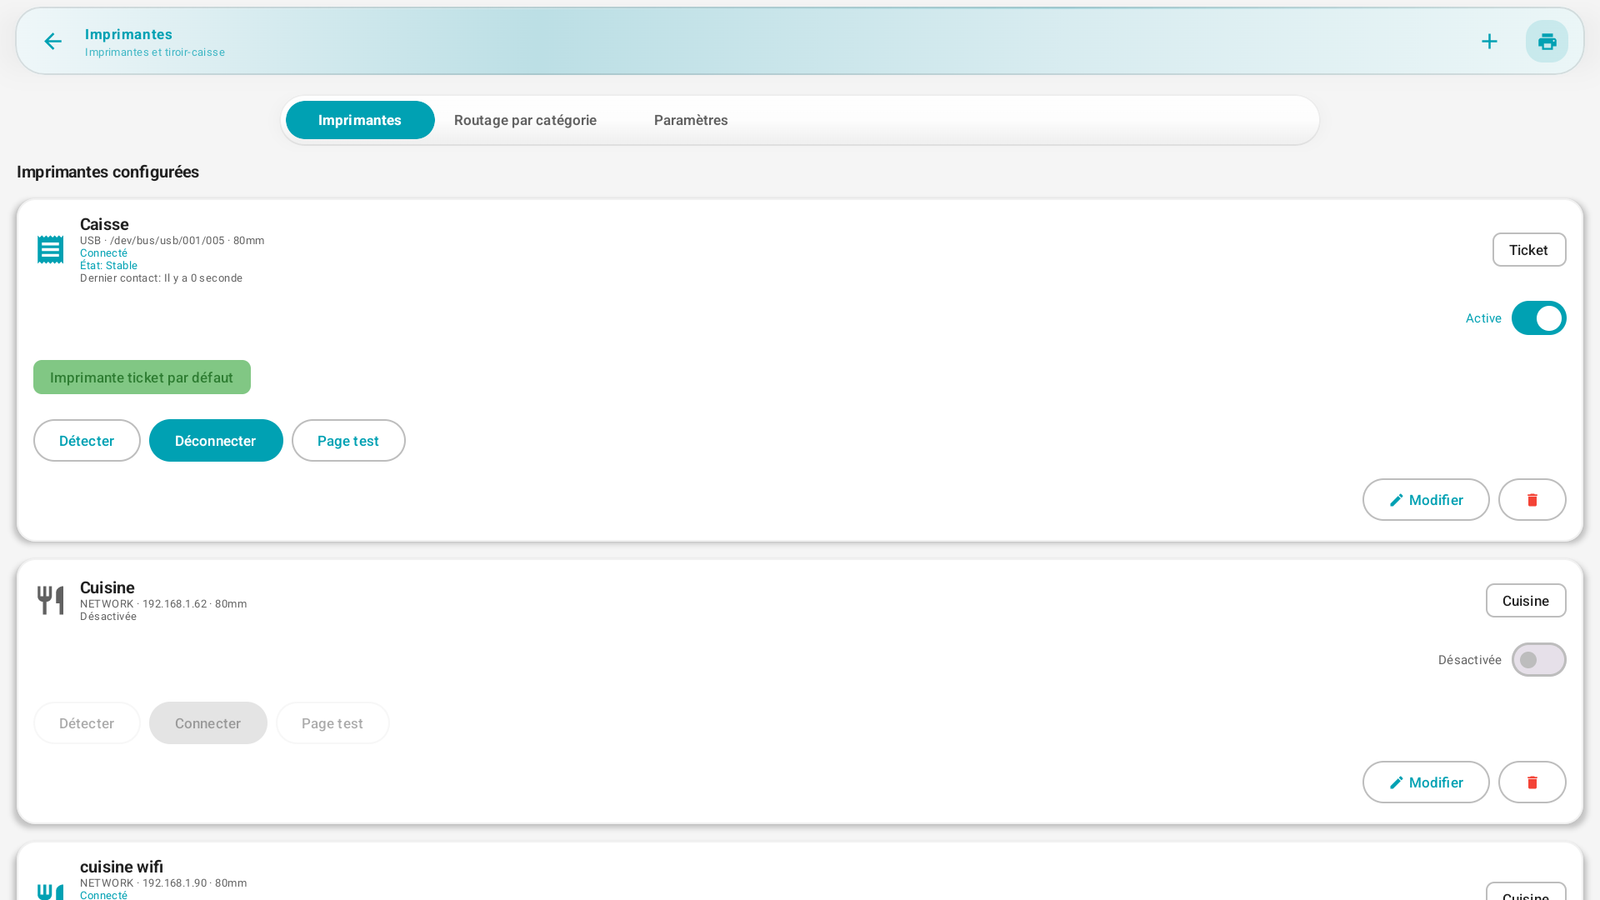
Each printer is a card that displays:
- The name (e.g. Register, Kitchen, kitchen wifi).
- The connection:
USB · /dev/bus/usb/...orNETWORK · 192.168.x.x, and the paper width (80mm). - The role (badge on the right): Receipt (customer receipt) or Kitchen (preparation order).
- The live status: Connected / Disconnected, Status: Stable, Last contact, Latency.
- The green Default receipt printer badge on the one that prints receipts by default.
- The Active / Disabled switch.
- The actions: Detect, Connect / Disconnect, Test page, Edit, and the trash (delete).
Add a printer🔗
- In Printers, tap + (top right).
- Fill in the name, the connection type (USB or Network/IP), the address (for the network, the IP — e.g. 192.168.1.62), the width (58/80 mm) and the role (Receipt or Kitchen).
- Save, then tap Connect and Test page to check.
Set the default receipt printer🔗
- On the desired printer (Receipt role), enable the Default receipt printer option. The green badge confirms the choice. It is the one that will automatically print the customer receipt at payment.
Several kitchen printers🔗
PosCaisse handles several kitchen printers (e.g. Kitchen and kitchen wifi). Each has its Kitchen role and can be enabled/disabled independently.
Make a 2nd kitchen printer active without deleting the first
You do not need to delete a printer to favor another one: just enable the new one (Active switch) and, if needed, disable the old one. In the screenshot, Kitchen is Disabled while kitchen wifi is Connected: the orders then go to kitchen wifi.
Route each category to a printer🔗
The Printers screen has three tabs: Printers (the list above), Routing by category and Settings.
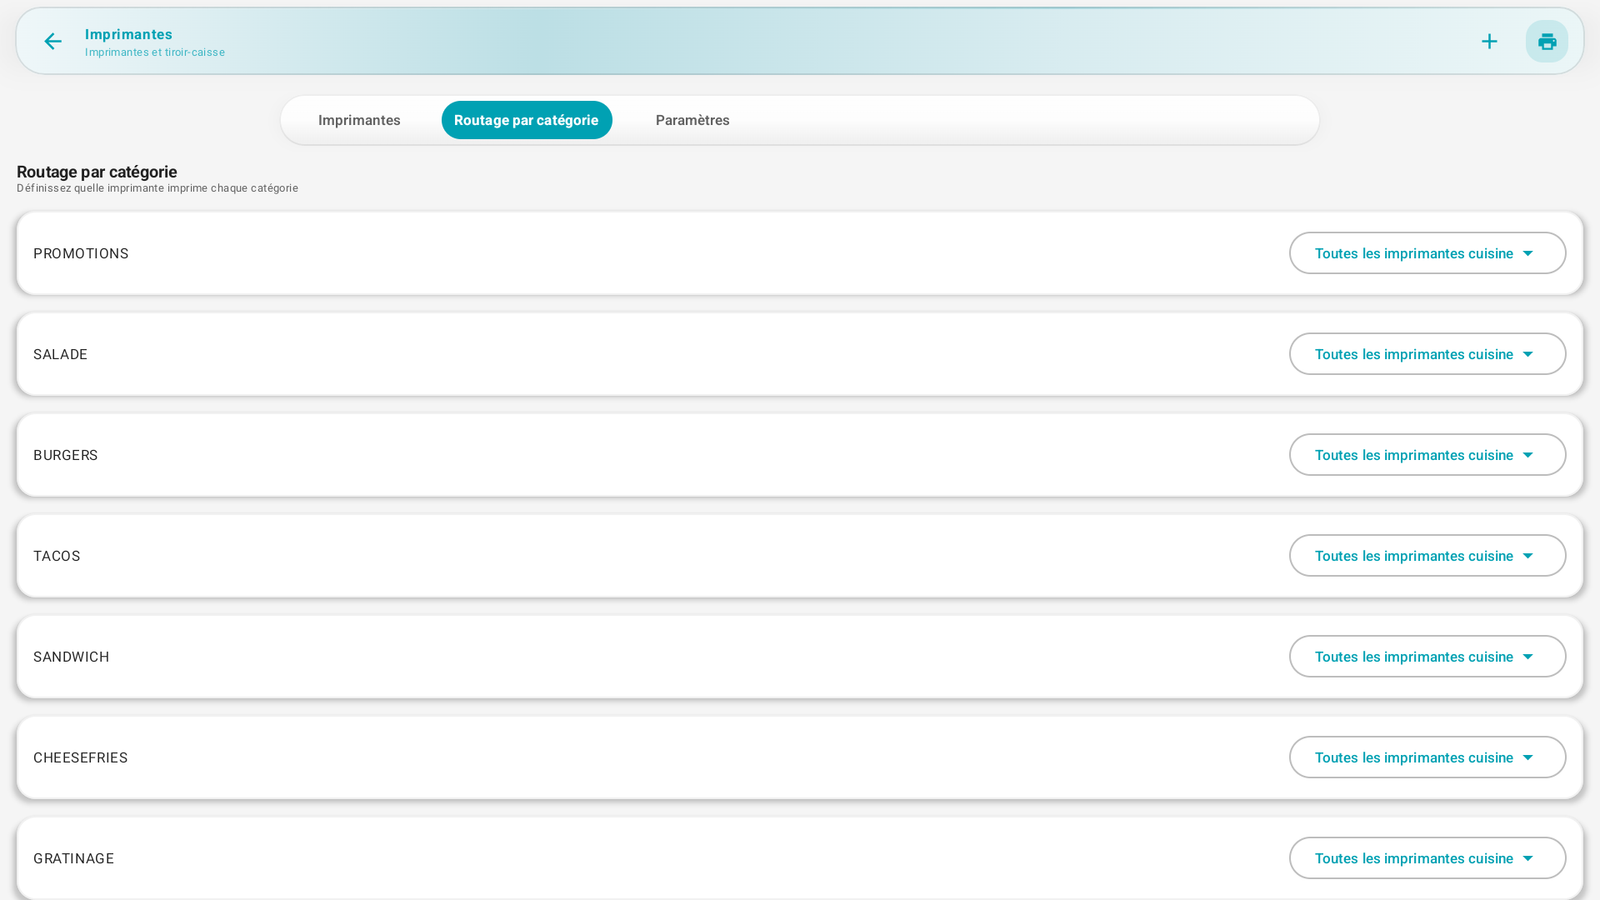
In Routing by category, you define which printer prints each category: for each product family (Burgers, Tacos, Salads…), choose a specific kitchen printer, or leave All kitchen printers (default). Handy when one station handles burgers and another desserts.
The cash drawer🔗
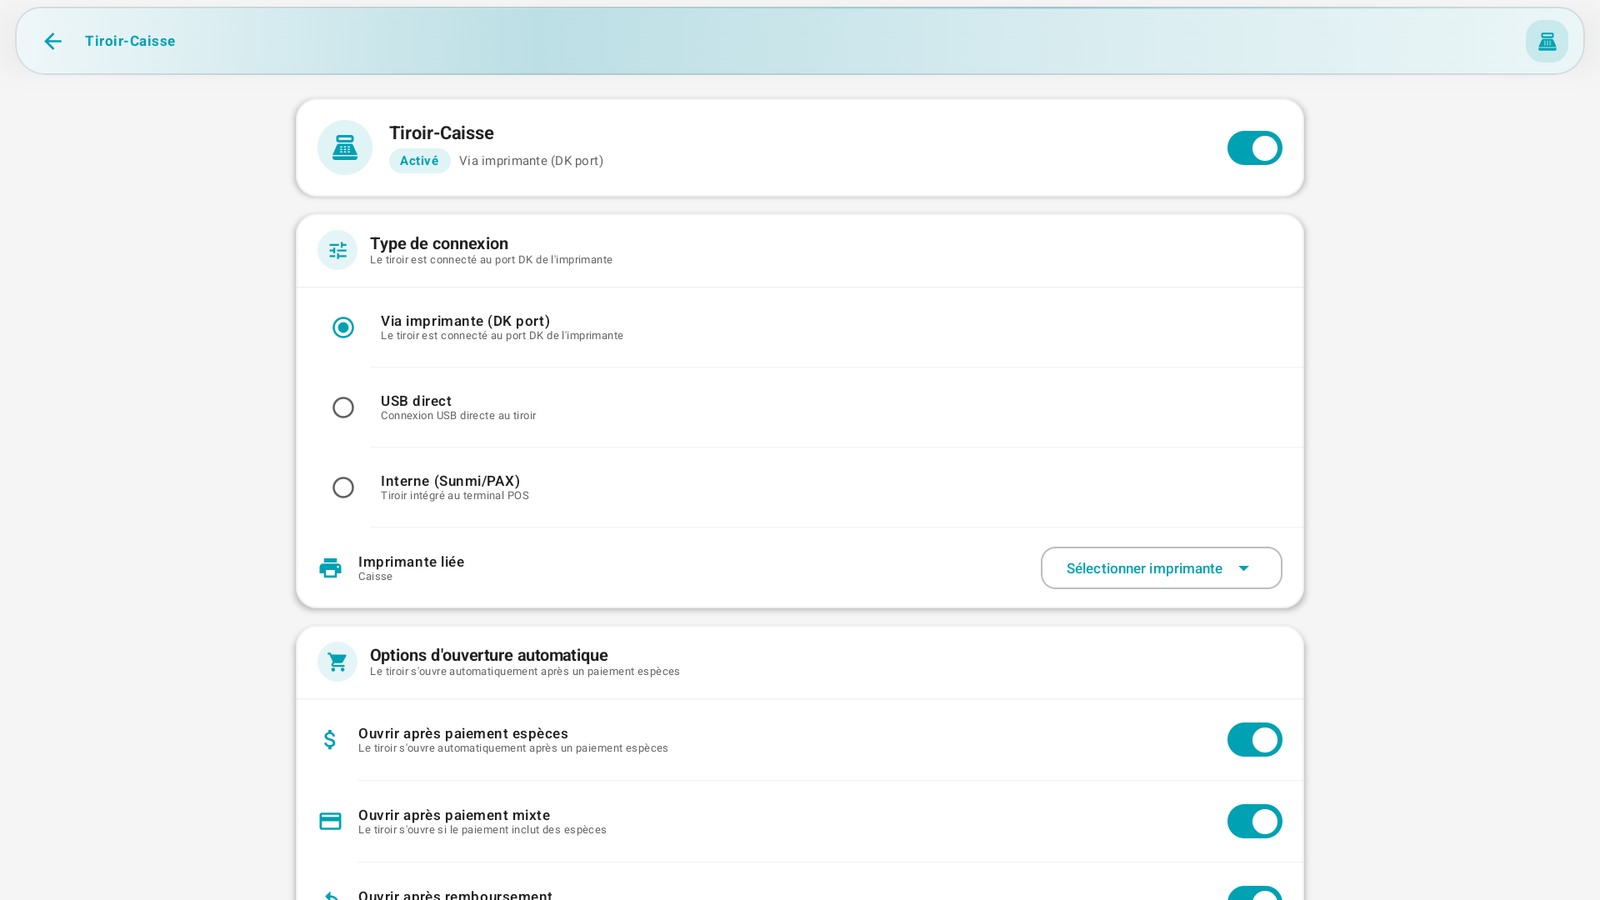
The Cash drawer card opens its settings:
- Connection type: Via printer (DK port) (the drawer is connected to the printer), Direct USB, or Internal (Sunmi/PAX) (drawer built into the terminal). On the Sunmi D3 Pro, the RJ12 port serves the drawer.
- Linked printer: the printer the drawer is connected to (e.g. Register).
- Manual opening: Allow from the POS / Allow from the admin.
- Automatic opening: Open after cash payment (recommended).
The drawer opens automatically during a cash payment, and manually via the widget Open drawer (Drawer & cash movements) if the employee has the right.
The barcode scanner🔗
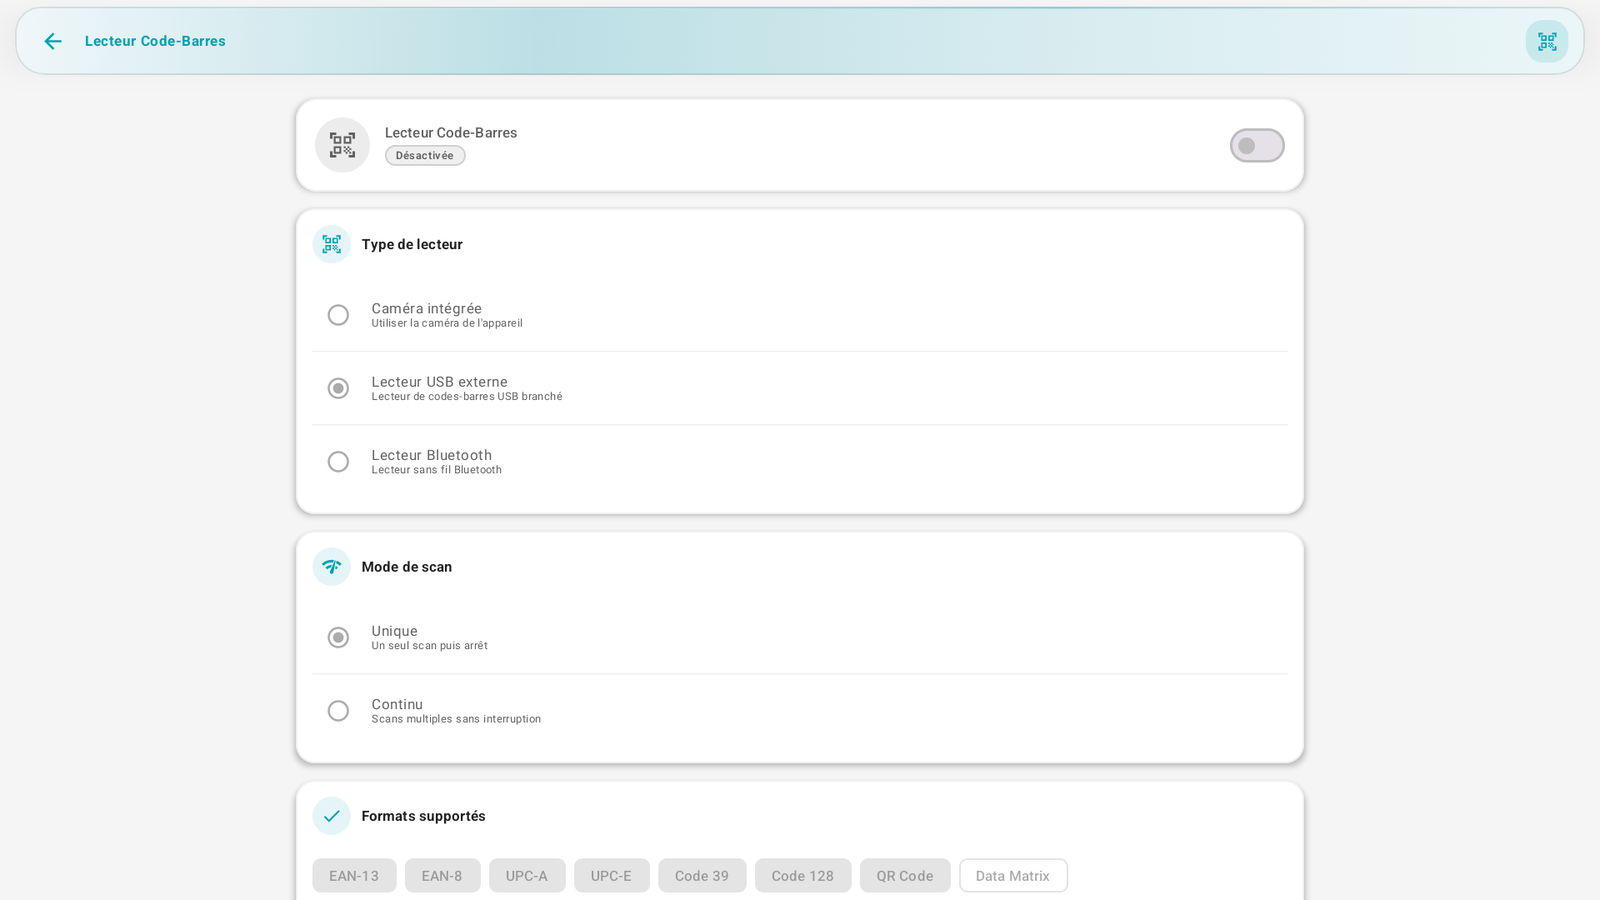
Enable it if you scan products. Settings:
- Scanner type: Built-in camera, External USB scanner, or Bluetooth scanner.
- Scan mode: Single (one scan then stop) or Continuous (sequential scans).
- Supported formats: EAN-13/8, UPC-A/E, Code 39, Code 128, QR Code, Data Matrix.
- Options: Automatic add to cart of the scanned product.
The NFC reader🔗
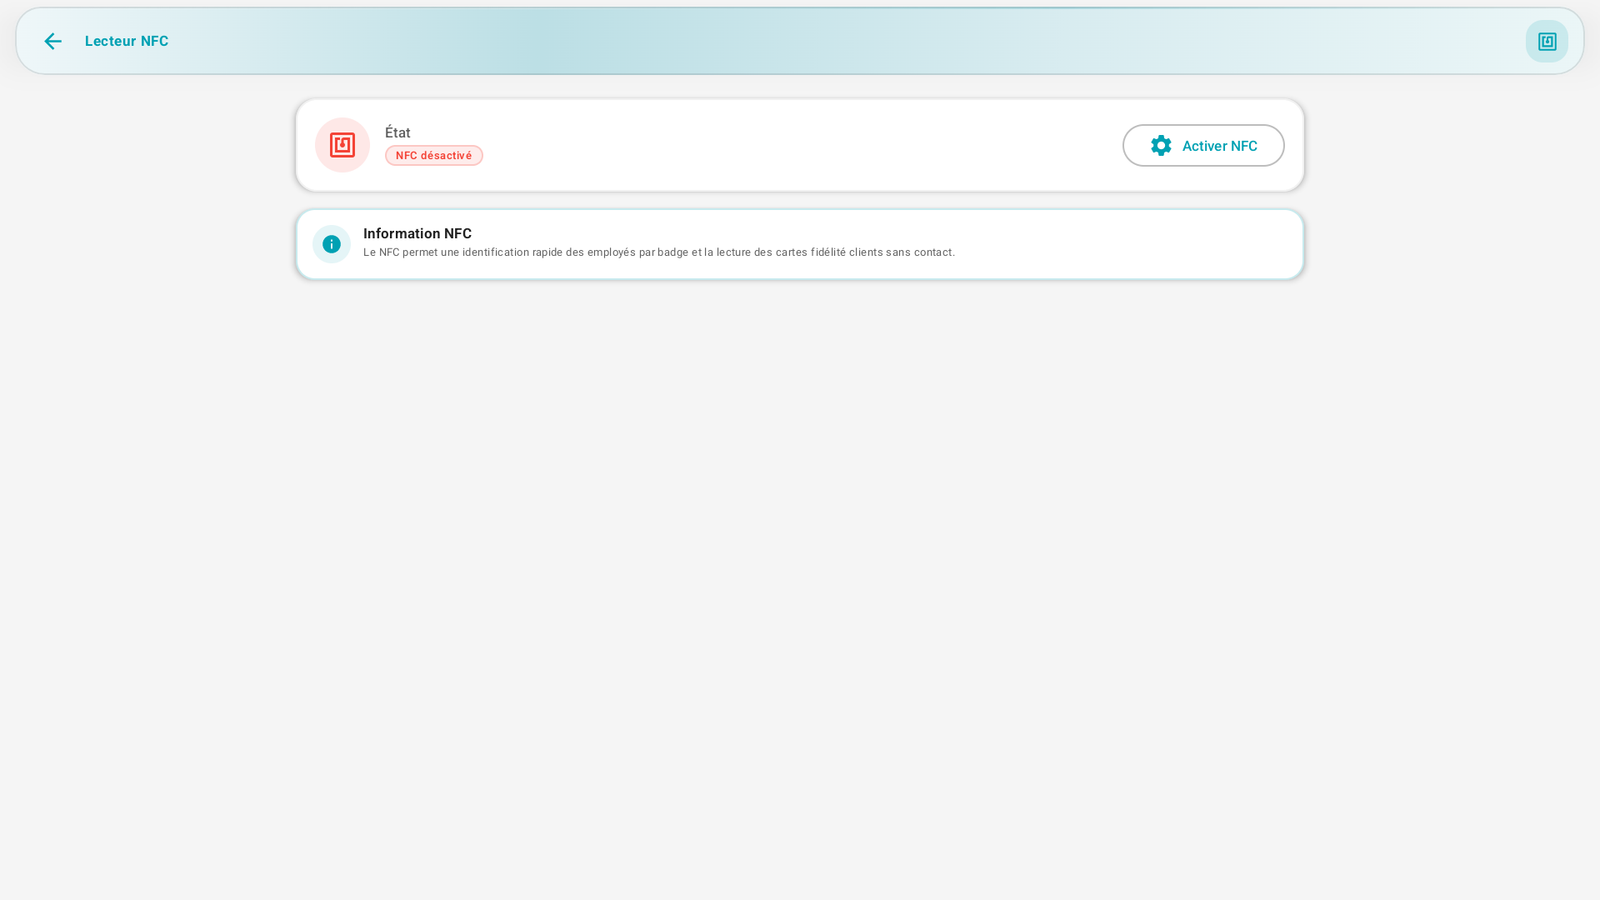
Tap Enable NFC to use it. "NFC allows quick identification of employees by badge and the contactless reading of customer loyalty cards." The employee badges are then managed in C2. Employees.
The payment terminal🔗

Coming soon in Morocco
Attijari Payment — along with other Moroccan bank payment solutions — will be coming soon in PosCaisse for card payments.
To take card payment directly from the app, select a provider and tap Connect:
- SumUp — simple and affordable mobile terminal.
- Zettle (iZettle) — complete payment solution (PayPal).
As long as none is connected, the status displays Not configured.
The customer display🔗
The customer display is the screen that faces the customer (on the Sunmi D3 Pro, the 10.1" monitor on the back). It shows the order in progress and the amount due, plus a customizable welcome screen when no sale is in progress.
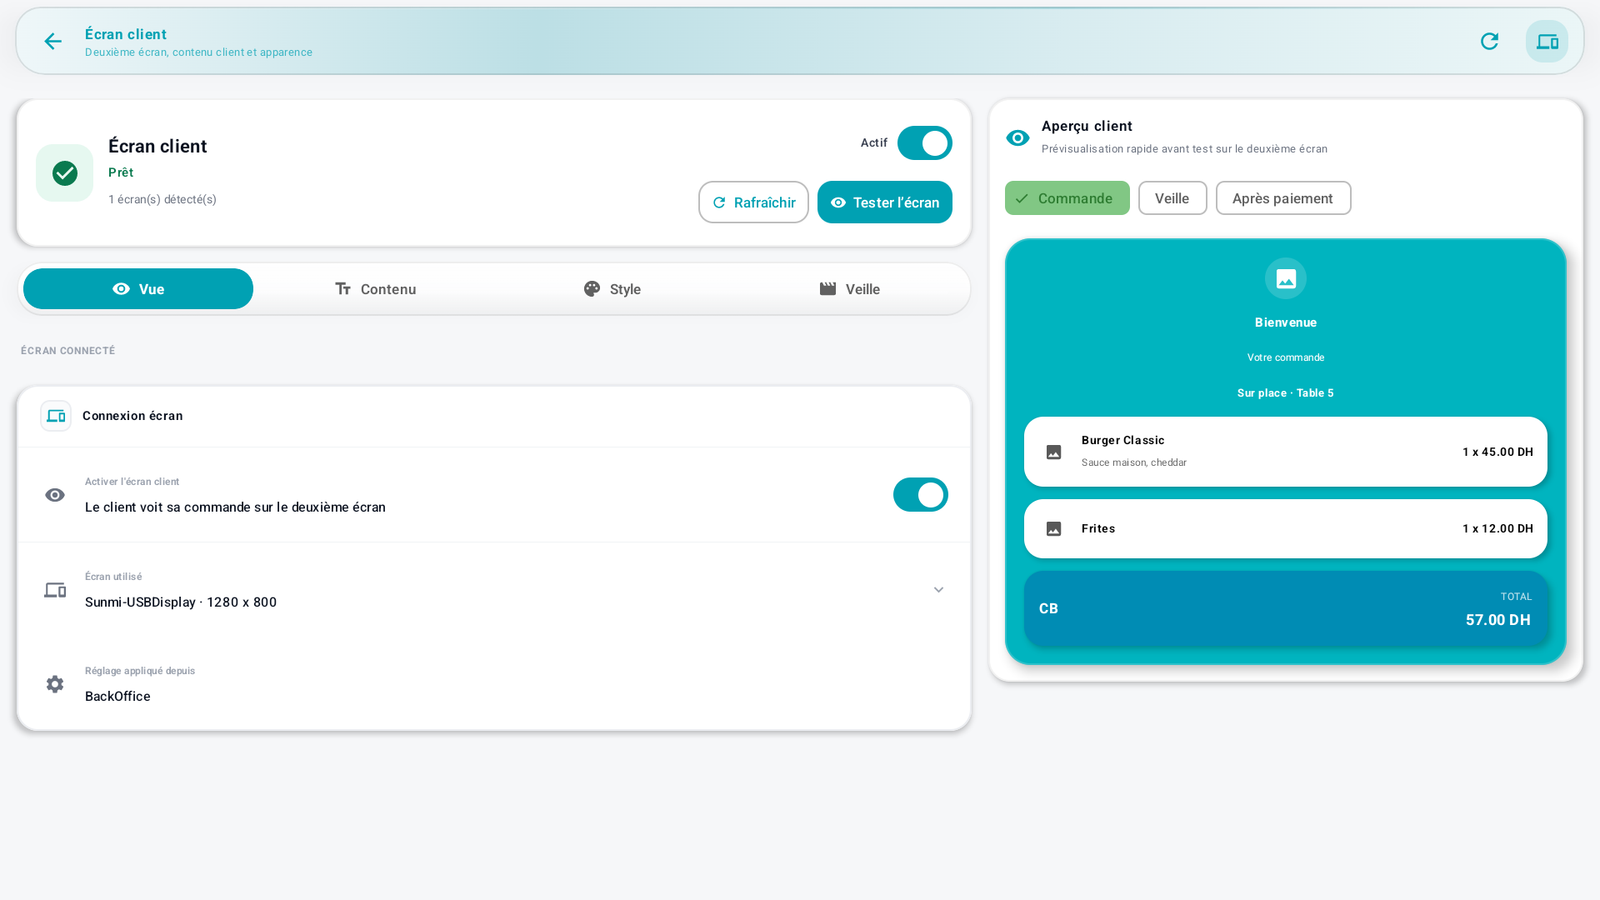
At the top: the screen status (Ready, number of detected screens), the Active switch, and the Refresh and Test screen actions. On the right, the Customer preview shows the result live in three modes: Order, Idle and After payment.
Settings are split across four tabs.
Screen connection.
- Enable customer display — the customer sees their order on the second screen.
- Screen used — the detected screen (e.g. Sunmi-USBDisplay · 1280 × 800).
- Setting applied from — the source of the configuration (e.g. BackOffice).
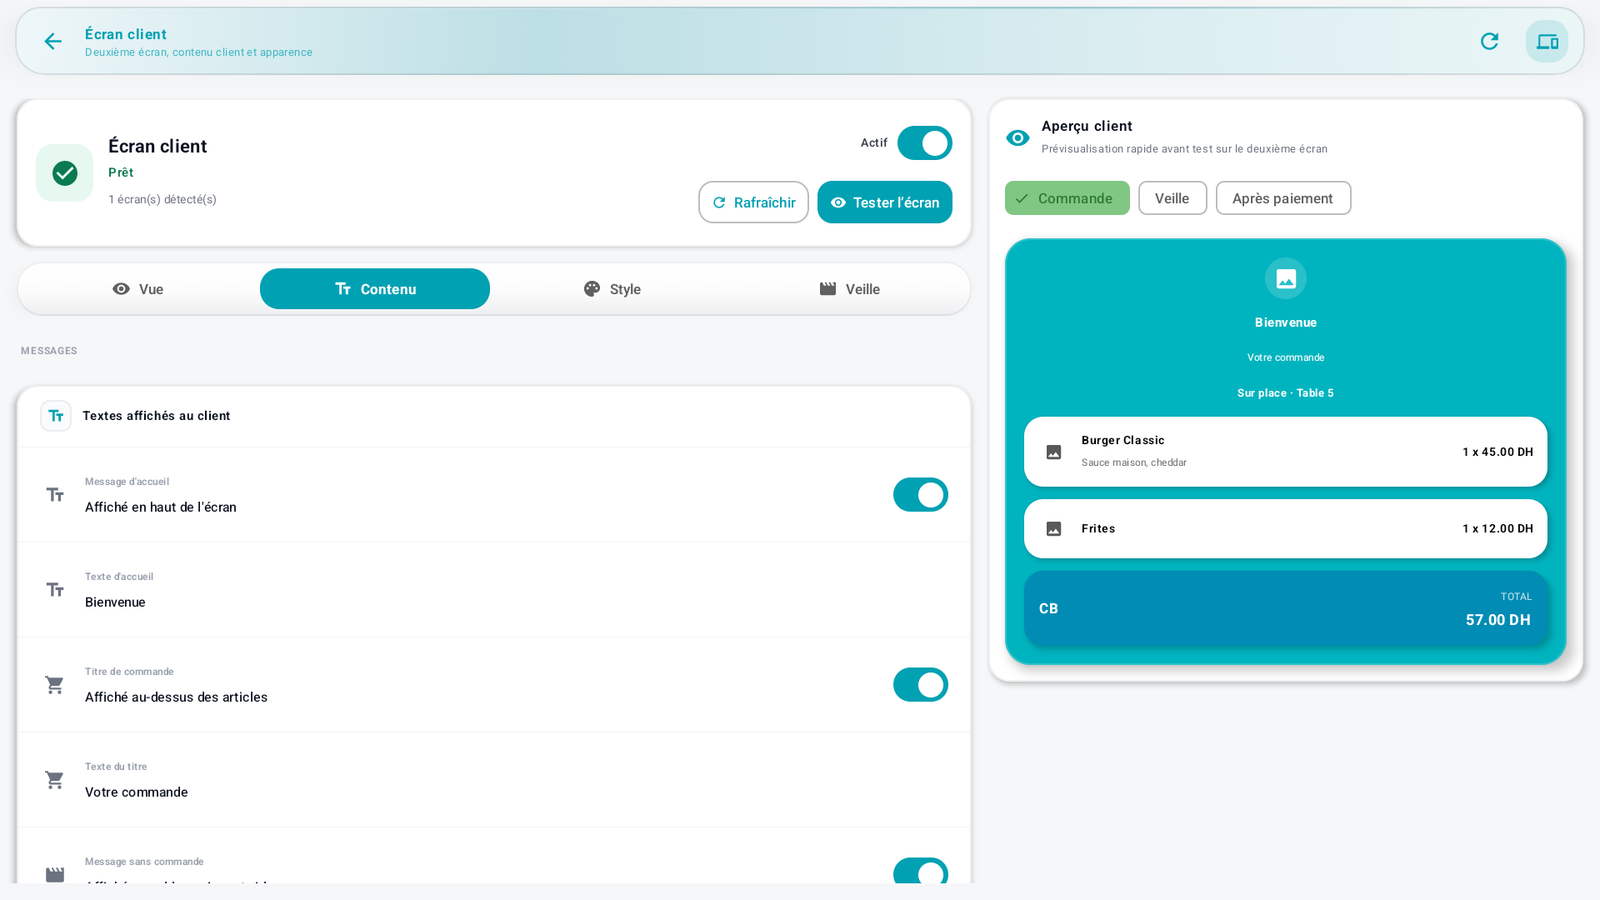
Messages — the texts shown to the customer, all editable:
- Welcome message (top of the screen, e.g. "Welcome").
- Order title (above the items, e.g. "Your order").
- No-order message (when the cart is empty).
- After-payment message (end of sale, e.g. "Thank you for your visit").
Order information — what the customer sees during the sale, which you can show or hide: Order type (dine-in / takeaway / table), Cart items, Payment method and Amount due.
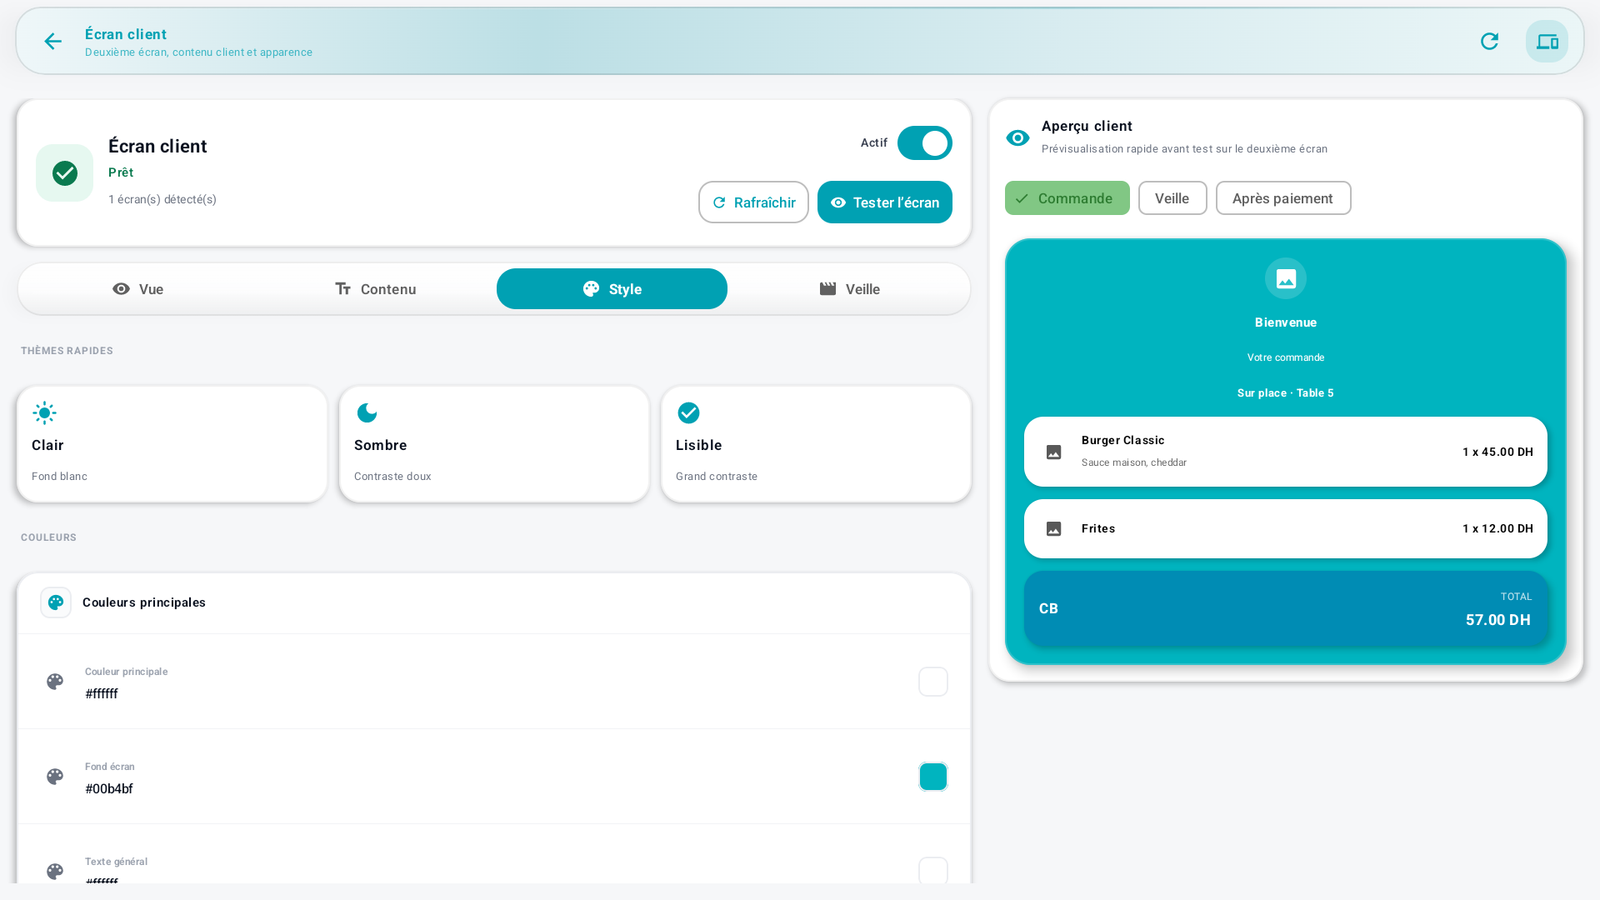
The look of the customer display:
- Quick themes — Light, Dark or Readable (high contrast) in one tap.
- Colors — fine-tune each color: main color, screen background, general text, item-card background and text, total-card background and text.
- Layout — font, spacing, animation, and sizes (in sp) of the welcome message, the items and the total.
- Logo and cards — Show logo (uses the logo from the company settings).
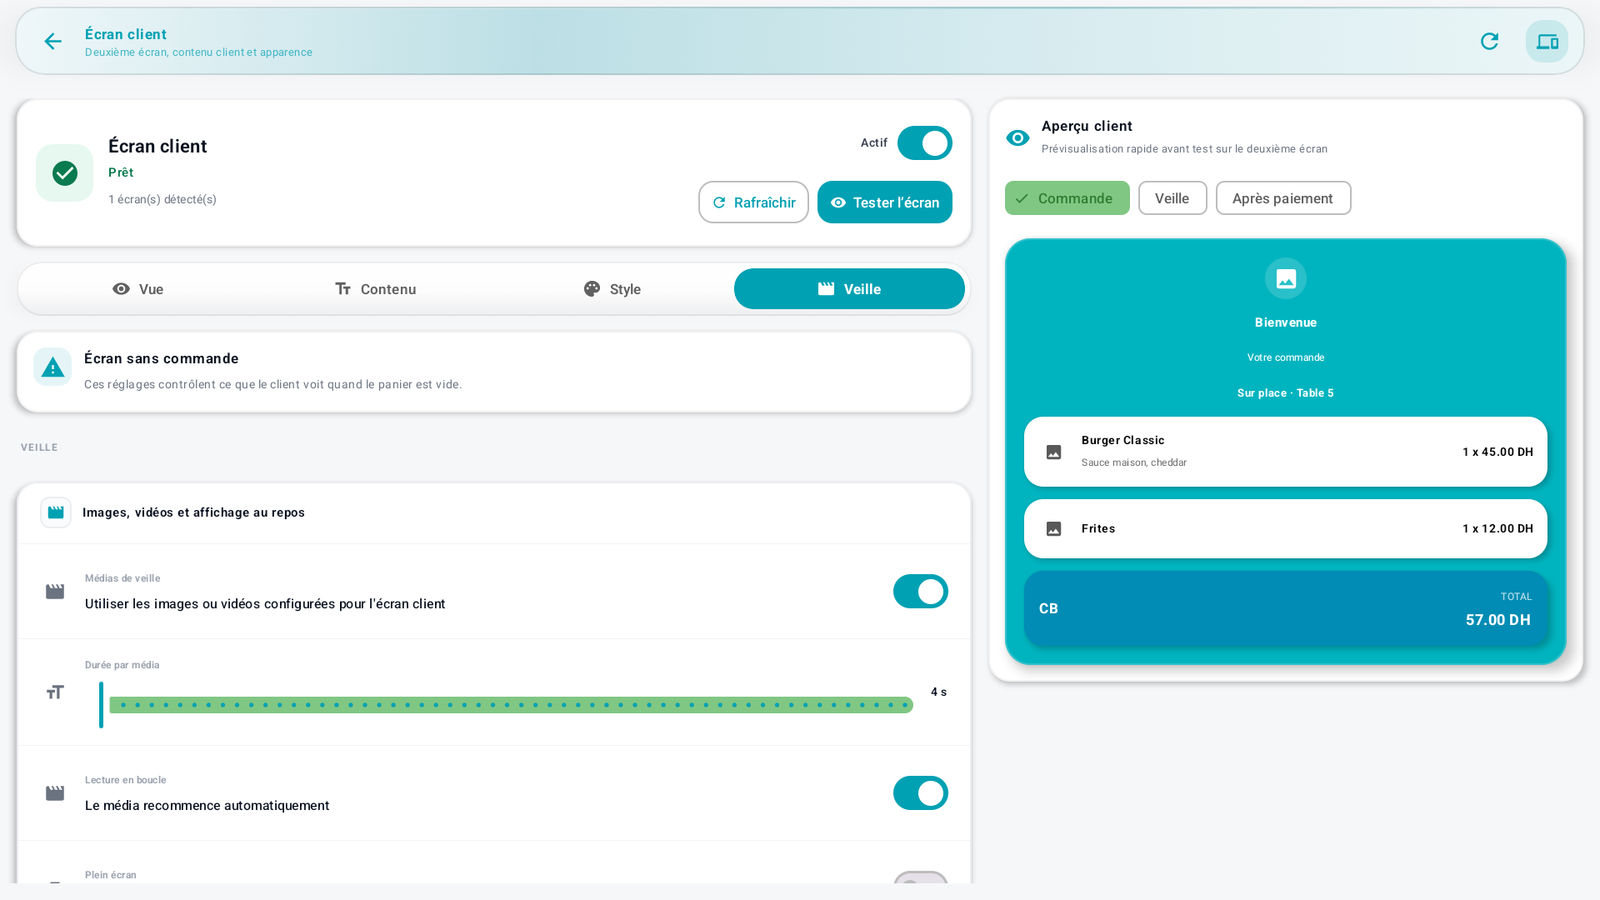
The idle screen, shown when the cart is empty — to cycle through your visuals:
- Idle media — display the images or videos configured for the customer display, with duration per item, loop playback, fullscreen, text over the media and darken background for readability.
- Product slideshow — feature products with an image, with duration per product and the name and price shown.
Preview before service
Use the Customer preview (Order / Idle / After payment modes) to check the result, then tap Test screen to show it for real on the second screen.
Messages & edge cases🔗
- "USB printer not found": check the cable/connection, then Detect → Connect.
- "Connection refused. Is the printer on?": for a network printer, check that it is on, on the same Wi-Fi network, and that the IP is correct.
- A Disabled printer does not print, even if it is connected.
Tips🔗
- Always do a Test page after configuration: it is the proof that printing works before service.
- For network printers, reserve a fixed IP on your router so that the address does not change.
See also🔗
- A7. Configure the POS screen (Open drawer widget)
- B6. Take payment · B8. Drawer & cash movements