A3. Company settings🔗
In brief🔗
The Settings screen brings together all the background configuration of the register: company identity, tax details, currency, language, but also the receipt appearance, sounds, display and advanced options. It is the first thing to fill in when installing a register.
Who / when🔗
For the Admin (or an authorized Manager), at the time of installation, then occasionally when a piece of information changes (new logo, new phone number…).
How to access🔗
Sales screen → Admin button (shield icon top right) → Settings.
Requirements🔗
🔑 View settings / Manage settings · 👤 Admin or Manager
Screen tour🔗
The screen is organized into sections, listed in the left-hand column:
Configuration
| Section | What you set there |
|---|---|
| General | Restaurant identity, tax details, currency, language, version |
| Sales & service | Behavior of the Hold button: ask, always send to kitchen, or always keep on hold |
| Printing | Elements displayed on the receipt (logo, company, address, tax info, message, signature…) |
| Register display | Colors, font, numeric keypad style, top bar appearance |
| Customer display | Configuration of the display facing the customer |
Data & system
| Section | What you set there |
|---|---|
| Stock & recipes | Enable real stock tracking |
| Synchronization | Access to connected devices and the PaderfSuite link |
| Advanced | Database encryption, backup, kiosk mode and development diagnostics (see Advanced settings) |
At the top: a search bar ("Search for a setting: VAT, sound, color, receipt…") to quickly find an option, and the Cancel / Apply buttons.
Overview of the sections🔗
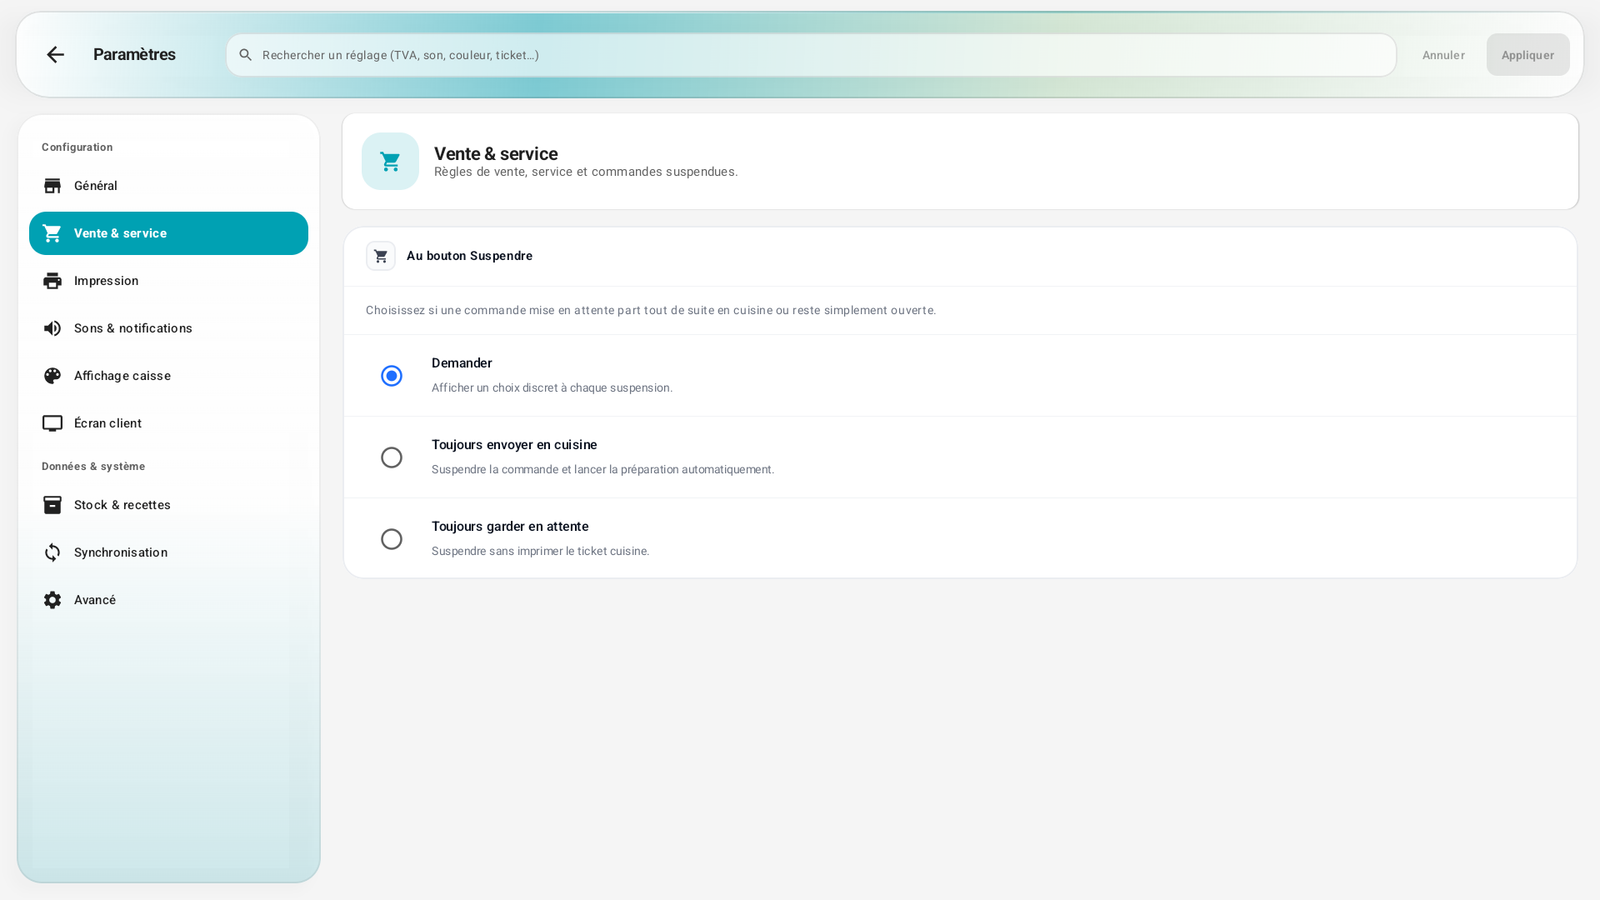
Set how the Hold button behaves when the cashier sets an order aside: ask each time, always send to the kitchen, or always keep on hold.
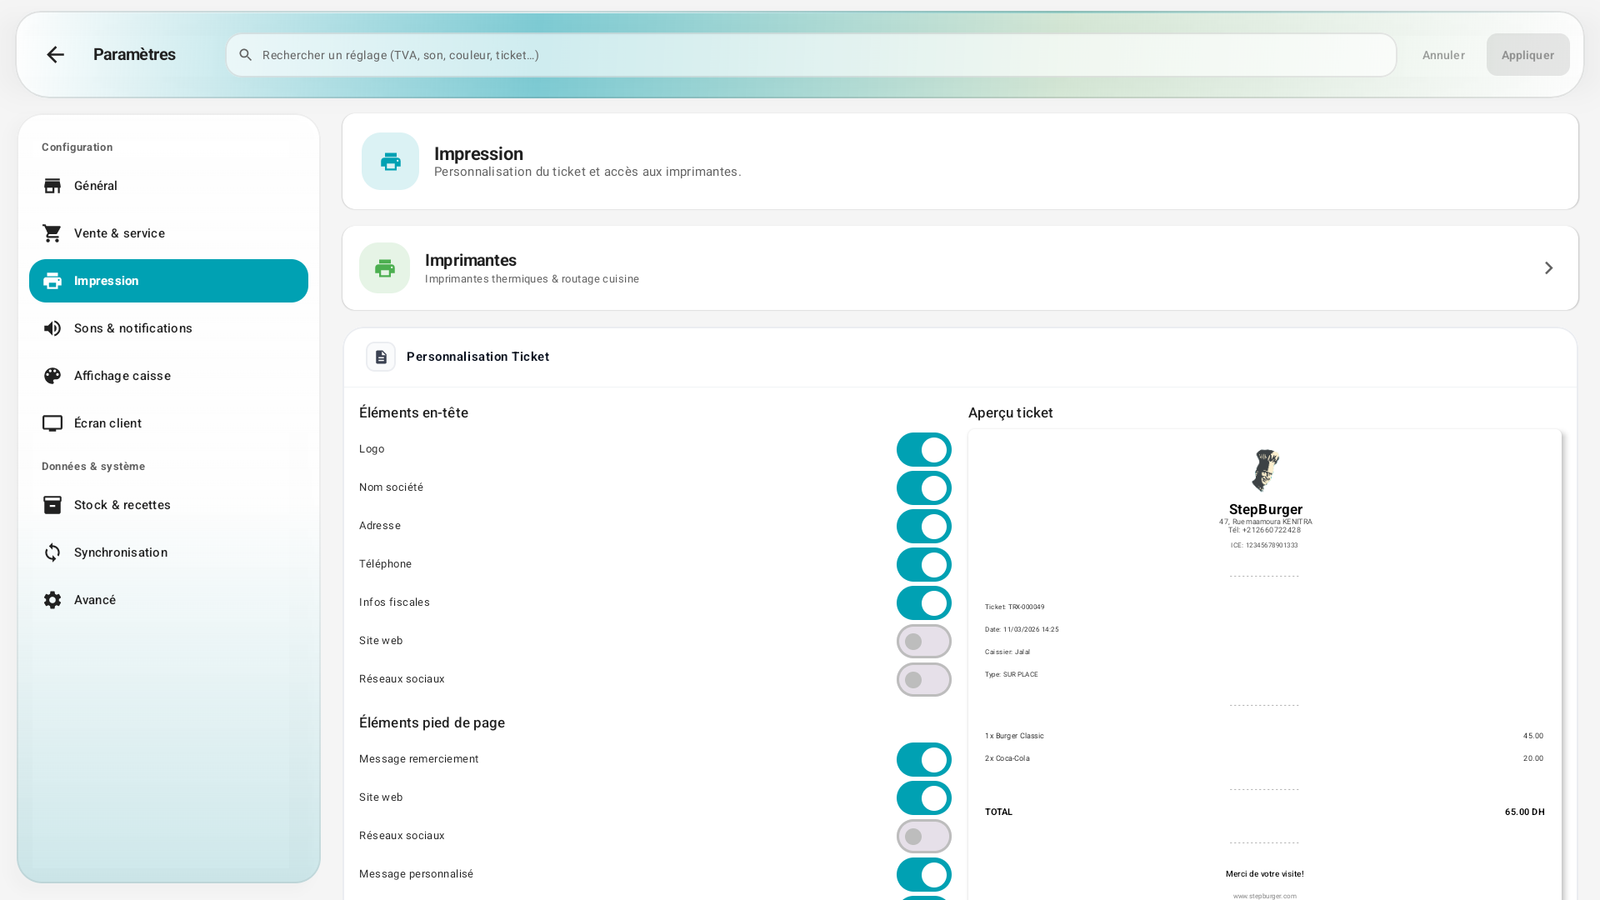
Header and footer elements of the receipt, with live preview + access to the printers.
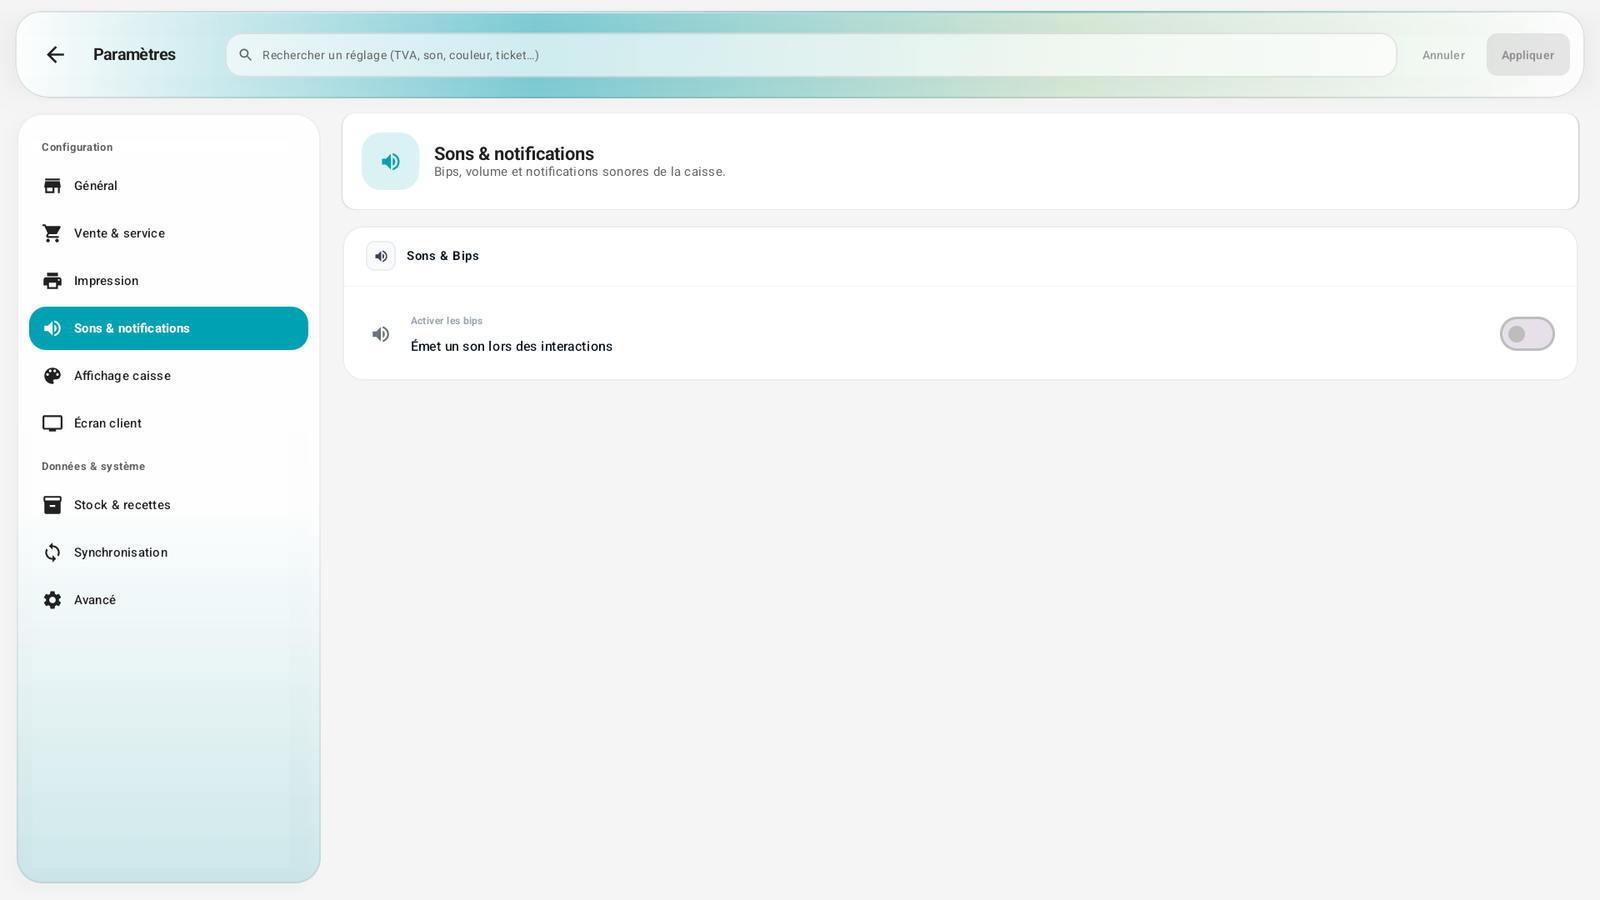
Enable the beeps; the volume and tone then appear.
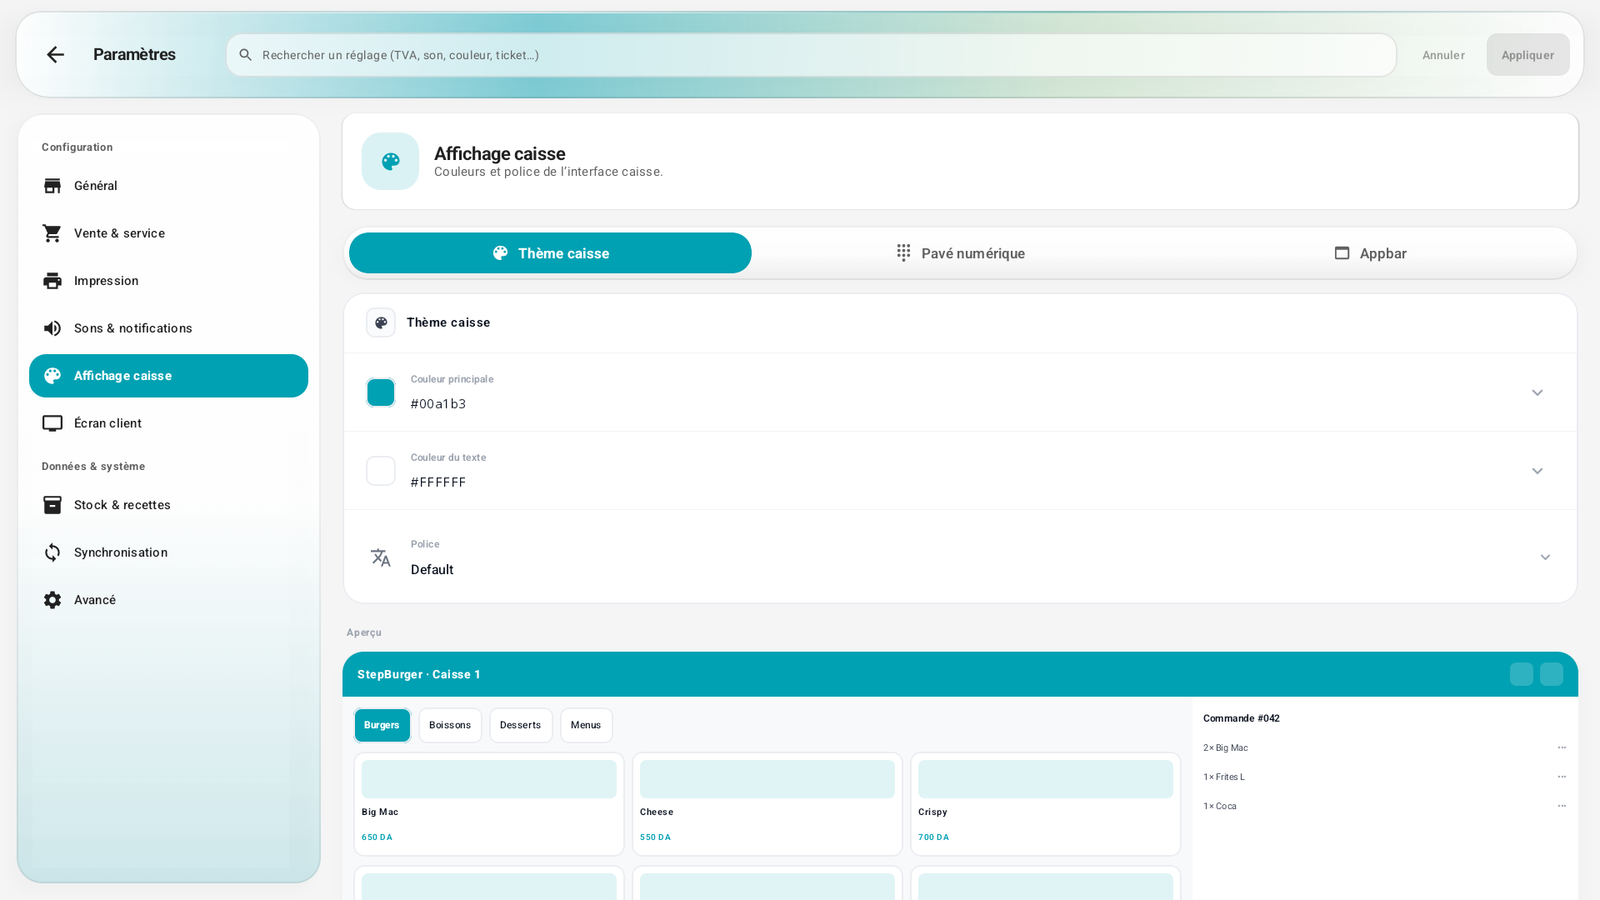
Register theme (primary color, text, font), Numeric keypad, App bar tabs, with live preview.
Step-by-step procedures🔗
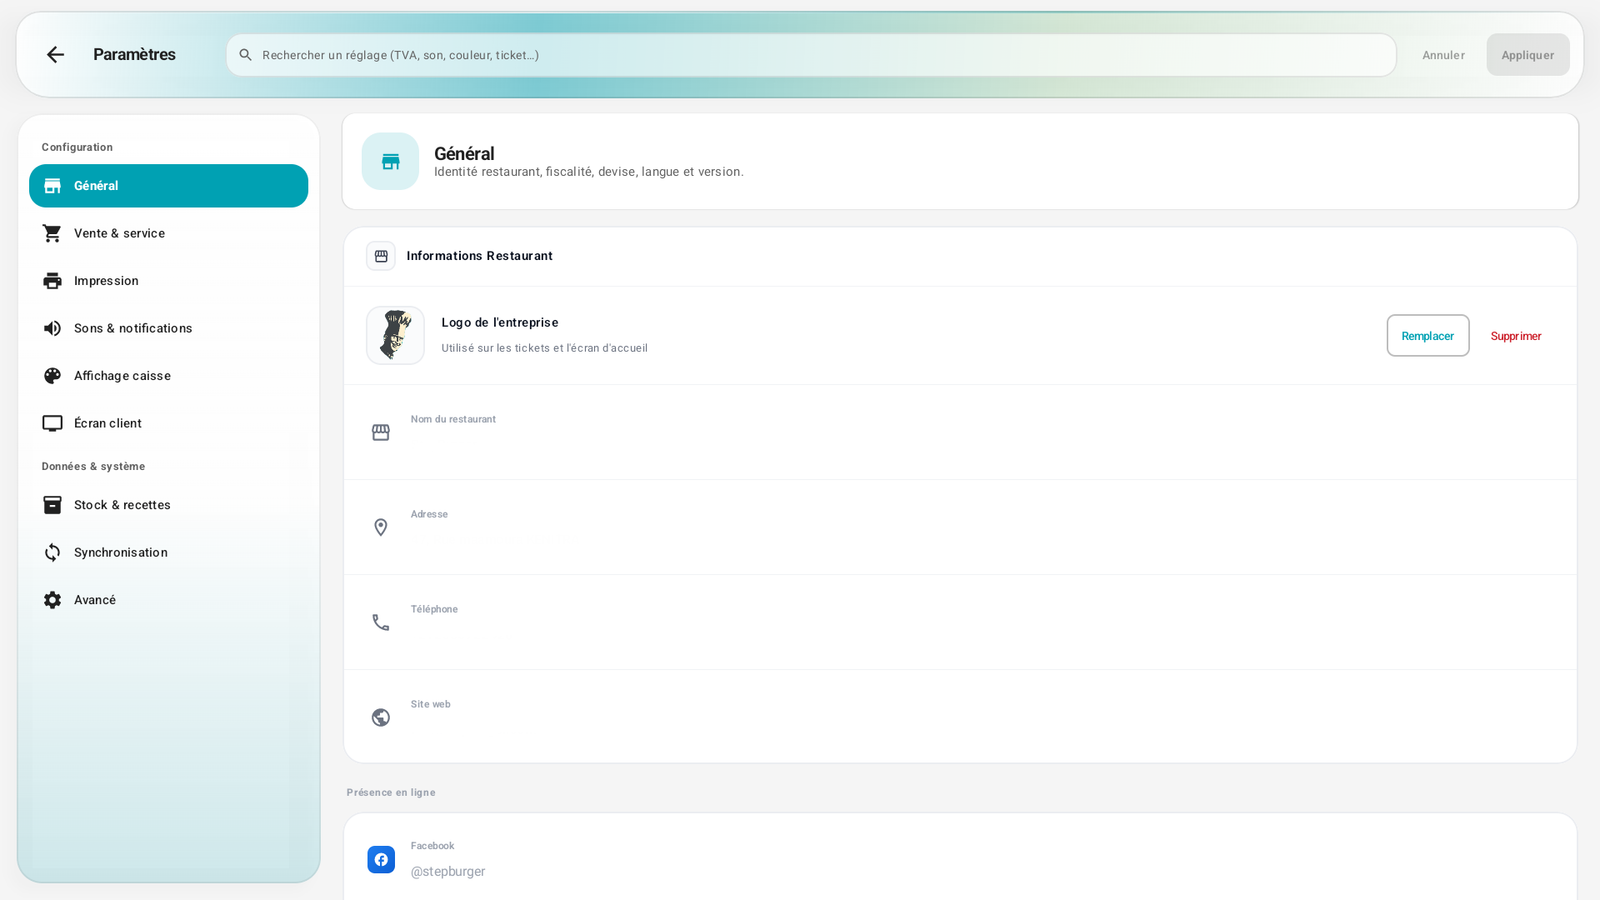
Fill in the company information🔗
- Open Settings (the General section by default).
- In Restaurant Information:
- Company logo: tap Replace to choose an image (it will appear on the receipts and the home screen), or Delete to remove it.
- Restaurant name (e.g. Demo restaurant).
- Address (e.g. Restaurant address).
- Phone, Website, and the online presence (Facebook…).
- Fill in the tax details according to your country (the fields adapt: ICE, RC, IF… in Morocco), the currency, the default VAT and the language.
- Tap Apply to save.
Customize the receipt🔗
- Go to Printing.
- Check/uncheck the elements to print in the header (logo, company, address, phone, tax info, website, social networks) and in the footer (thank-you note, custom message, receipt detail, tax signature).
- Apply.
Set the Hold behavior🔗
- Go to Sales & service.
- Choose what the Hold button does: ask each time, automatically send to the kitchen, or keep the order on hold without kitchen printing.
- Apply.
Enable sounds🔗
- Go to Sounds & notifications.
- Enable the sounds, set the volume, choose the tone, and use the test button to listen.
- Apply.
Messages & edge cases🔗
- If you leave without saving, the register warns you of unsaved changes.
- The appearance (colors, keypad, top bar) is detailed on the usage side in A7. Configure the POS screen; here you set the global colors.
Tips🔗
- Use the search bar at the top: type "VAT" or "logo" to jump directly to the right setting without going through the sections.
- Fill in the tax details and currency first: they condition the display of prices and receipts on all the other screens.