D2. Floor plan🔗
At a glance🔗
The Floor plan screen (Tables) gives you a real-time view of your dining room — which tables are free, occupied or reserved — and lets you draw the layout: floors, tables and zones, by simple drag and drop. It works in two modes: Monitoring and Edit layout.
Who / when🔗
For the manager who tracks occupancy during service, and for the one who sets up or rearranges the room (adding a floor, a terrace, repositioning tables). Use it during setup, during a rearrangement, or continuously throughout service.
How to get there🔗
Management → Tables
Prerequisites🔗
🔑 Manage floor plan
Screen tour🔗
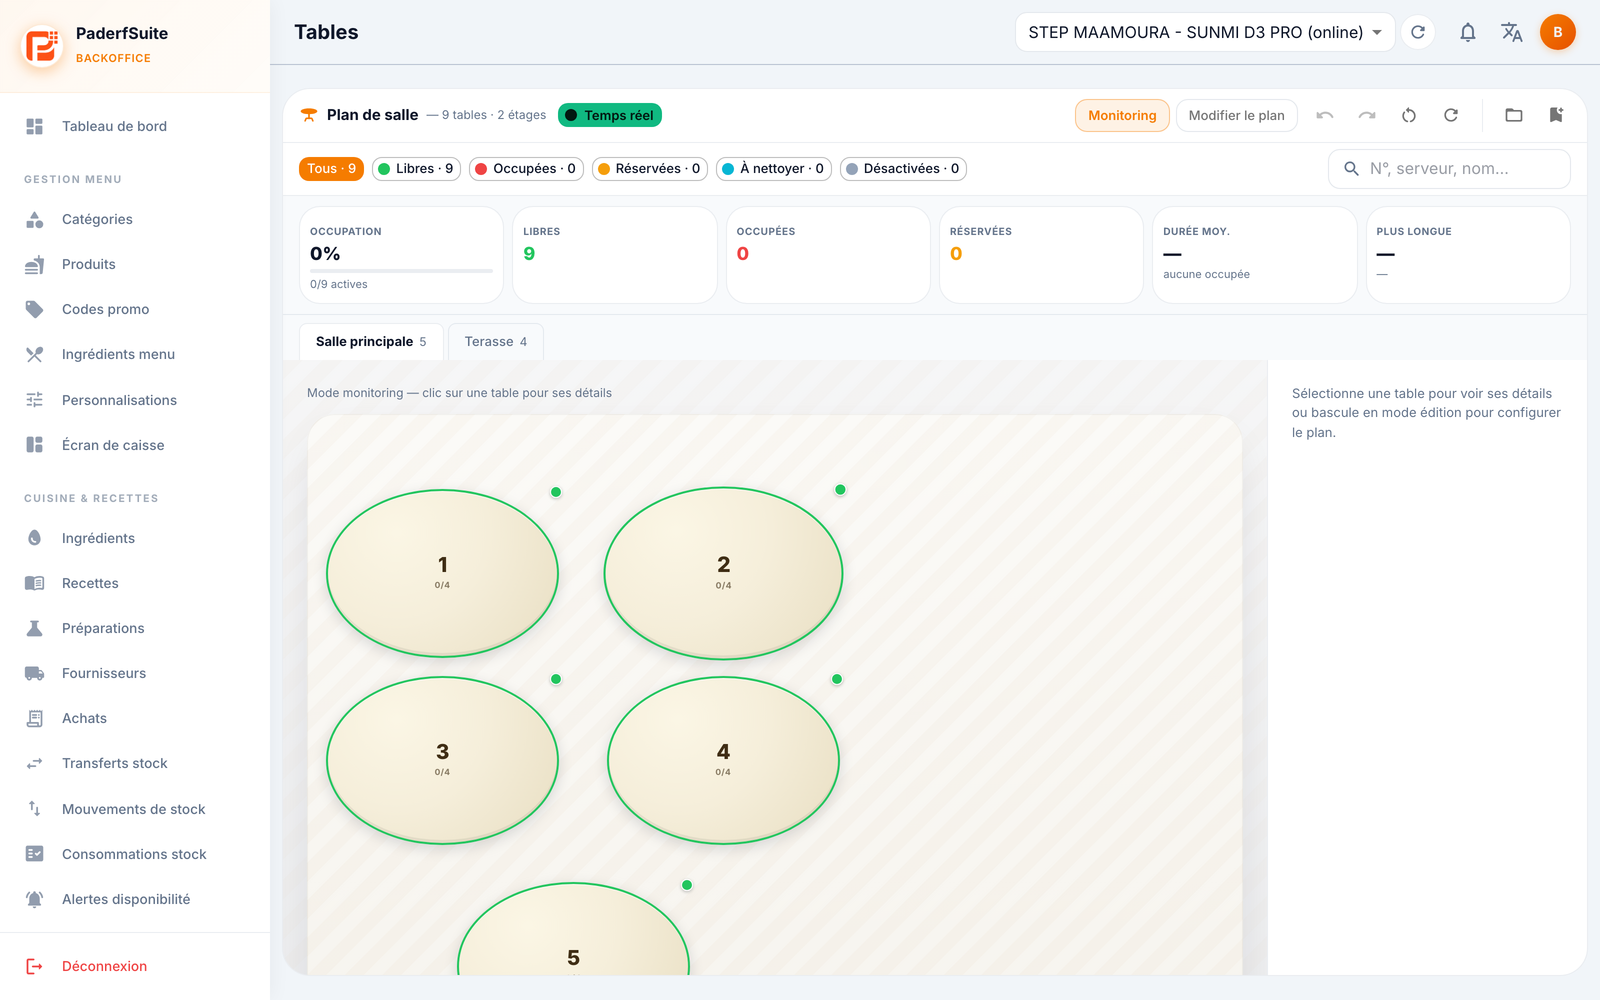
At the top, a Real-time badge confirms the display is up to date, and a button toggles between Monitoring and Edit layout. A search lets you find a table by number, server or customer.
The 6 key indicators🔗
- Occupancy %: the room's occupancy rate.
- Free: available tables.
- Occupied: tables with an order in progress.
- Reserved: reserved tables.
- Avg. duration: average occupancy time.
- Longest: the longest occupancy currently in progress.
The canvas🔗
Below the indicators, floor tabs (Main room, Terrace…) give access to the layout. The canvas displays the tables (round, square or rectangular) and the zones, with a status color code. In Monitoring mode, click a table to see its details on the right. In edit mode, you move and configure the elements.
Step-by-step procedures🔗
Monitor the room (Monitoring mode)🔗
- Stay in Monitoring mode.
- Read the indicators at the top and the table statuses on the layout.
- Click a table to open its details on the right, with the available actions.
Manage a table during service🔗
From a table's detail panel (Monitoring mode):
- Free up: marks the table as available again.
- To clean: flags the table as needing to be cleared/cleaned.
- Disable: temporarily removes the table from service.
Edit the layout (edit mode)🔗
- Switch to Edit layout.
- Drag and drop the tables and zones to position them on the canvas.
- Select a table to open its edit panel on the right: number, name, shape and capacity.
- You can also edit a floor or a zone from their dedicated panels.
- Use Undo / Redo as needed. Changes are saved automatically.
Use a room template🔗
- In edit mode, open the template selector to start from an existing layout, or save your current layout as a template.
- Apply a template to load it onto the current floor.
Delete a table or a floor🔗
- Select the element in edit mode.
- Trigger the deletion and confirm in the dialog.
Messages & edge cases🔗
- The display is real-time: a table's status changes automatically when an order is opened or closed on the register.
- A disabled table no longer counts in the occupancy indicators and can no longer be assigned.
- Autosave records your changes continuously in edit mode; Undo / Redo lets you step back before leaving.
Tips🔗
- Create several floors (room, terrace, upstairs) to faithfully reflect your establishment and keep the layout readable.
- Save a room template before a major rearrangement: you'll be able to revert to the previous configuration in one click.
- The To clean status helps the team move from one service to the next without leaving a table occupied for too long in the statistics.