E1. Settings🔗
In brief🔗
Settings bring together the general configuration of your POS: restaurant identity, fiscal parameters, currency and language, POS appearance, receipt content, and stock management. It is the starting point for tailoring PaderfSuite to your business.
For whom / when🔗
For the manager setting up the restaurant, or who needs to adjust a long-lasting parameter: changing the logo, fixing an address, updating a VAT rate, modifying the POS appearance, or editing the receipt text.
How to get there🔗
System → Settings
Prerequisites🔗
🔑 View settings (read-only) · Manage settings (editing)
Screen tour🔗
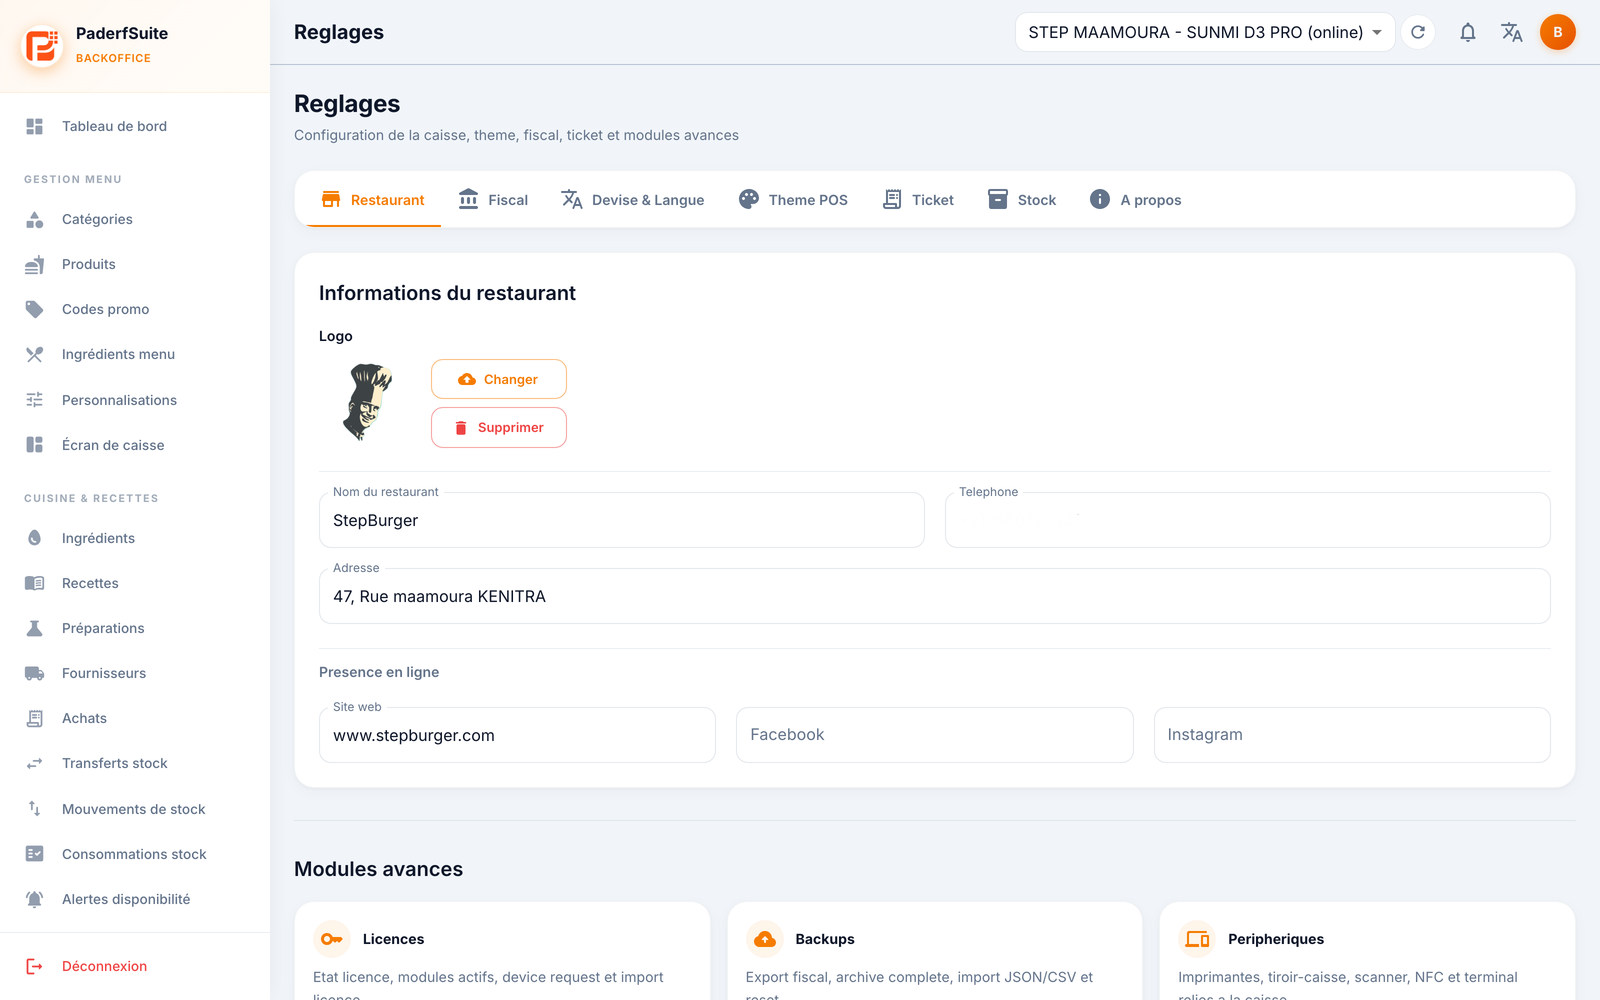
The screen is organized into 7 tabs. When you change a parameter, a Save bar appears so you can confirm your changes. At the bottom sits the Advanced modules grid.
Restaurant tab🔗
The business identity:
- Logo: Change (import an image) and Remove buttons.
- Restaurant name, Phone, Address.
- Online presence: Website, Facebook, Instagram.
Fiscal tab🔗
Taxation parameters:
- Country: choose from 13 countries.
- Default VAT.
- Tax identifiers: the fields adapt to the selected country (for example, for Morocco: ICE, RC, IF, Patente; for France: SIREN, SIRET…).
Currency & Language tab🔗
- Currency: choose from 11 currencies.
- Language: 3 languages available.
POS Theme tab🔗
The look of the POS screen:
- Primary color and text color.
- Font.
- A preview reflects your choices in real time.
Receipt tab🔗
The content of the customer receipt:
- Header and footer elements of the receipt.
- Custom messages.
- A receipt preview shows the result.
Stock tab🔗
- Real stock active switch: enables or disables real stock management on the POS.
About tab🔗
Version information: FoodPilot POSCaisse, PosBackOffice Web, and the NF525 compliance notice.
Advanced modules🔗
At the bottom of the screen, a grid of shortcuts to the configuration modules: Licenses, Backups, Devices, Multi-devices, Authorizations, and Audit log.
Step-by-step procedures🔗
Change a setting🔗
- Open the relevant tab.
- Make your changes.
- Click Save in the bar that appears.
Change the restaurant logo🔗
- On the Restaurant tab, under Logo, click Change.
- Import your image.
- Save. To remove the logo, use Remove.
Update tax identifiers🔗
- On the Fiscal tab, first check the selected Country.
- Fill in the identifiers offered for that country.
- Adjust the Default VAT if necessary, then save.
Customize the receipt🔗
- On the Receipt tab, fill in the header and footer elements and the messages.
- Check the result in the receipt preview.
- Save.
Messages & edge cases🔗
- As long as you have made no changes, the Save bar stays hidden.
- The fiscal fields shown depend on the chosen country: change the country before entering the identifiers.
- Disabling real stock changes the POS behavior: only do this knowingly.
Tips🔗
- Check the POS Theme and the Receipt using their previews before saving.
- The Advanced modules save you from going through the sidebar to reach the system screens.